


Yesterday I shared some Crayon Rolls that I made for the kiddo's in Adam's class as an End of the Year gift... and today I'm sharing 1 tutorial with another one coming tomorrow!

Supplies:
Main Fabric (12"x13")
Coordinating Fabric (8"x13")
Coordinating Ribbon (1 yd.)
Coordinating Thread
Scissors
Ruler (I like using one with a grid)
Pencil or Marker
Chopstick or something to push out corners
Sewing Machine (We're only using a simple straight stitch, nothing fancy)
Step ONE:

Cut your main fabric to be 12" x 13".
Cut your coordinating fabric to be 8" x 13".
Step TWO:

Fold your main piece in half right sides together, you want to end up with a long rectangle measuring 6"x13" (think of it as a hot dog bun). Iron the fold.
Fold your coordinating piece in half, wrong sides together. You end piece will be 4" x 13" (think of it as a hot dog bun). Iron the fold.
Step THREE:

Sew a border with coordinating thread at the top of the pocket, where the fold (about a 1/8" border). This will finish your crayon holding pocket nicely. (I forgot to take a photo of this, so we're substituting with a different pocket! Just ignore the pattern and stick with the directions.)
Step FOUR:

Place your pocket piece at the BOTTOM of your main piece. You'll want the bottom edge of your pocket to be even with the bottom edge of your main piece.
Step FIVE:

Step SIX:

Sew on each of the lines, thus creating the pockets for your crayons! Remember to back stitch on the top of the pocket, don't worry about the bottom (to save time, don't stop and cut at each line, once you reach the bottom, just pull your thread gently enough to give you enough room to start sewing on the next line. This will save you time and tread!) Trim your threads.
Step SEVEN:

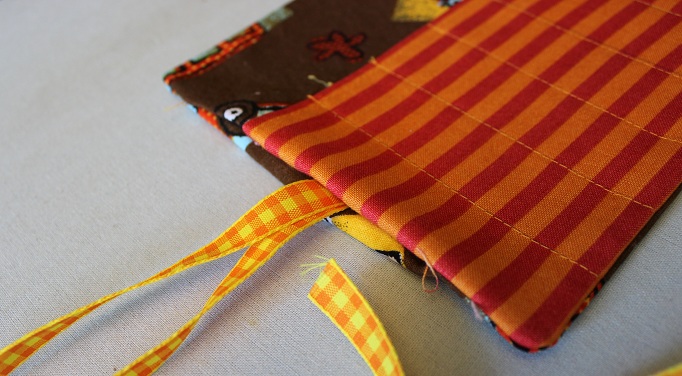
Grab your ribbon and fold it in half. Put the folded end on one side of your fabric. Sew your ribbon onto your crayon pocket piece, going back and forth a few times.
Step EIGHT:

Fold your main fabric in half (remember ironing the fold earlier?). Now you've created a sandwich with the main fabric on the bottom, the coordinating pocket piece in the middle, ribbon and the main fabric on top. Your main fabric will be right sides together.
Step NINE:

Using a 1/4 Seam allowance, sew along both sides and the bottom of your fabric, leaving an opening on one of the sides so you can put this right-side out. Remember to back stitch where you start and stop! Trim corners.
Step TEN:

Pull your fabric back through the hole so that it is now right side out. Using your chopstick (or whatever pointy but non-damaging tool you have), push your corners out. IRON! Iron the edges/seams and the opening. You'll want to make sure and iron the folds at your opening so when you sew it shut, it'll look nice and clean.
Step ELEVEN:

Top stitch with coordinating thread all around the edge of your crayon roll. This will help your crayon roll keep its shape as well as closing the opening. I top stitched around 1/8" from the edge all around.
Fill with crayons and viola! A great traveling case for your purse, diaper bag, car caddy, wherever!
--------------------------------------------------------------------------------------------------------------------------
TIP!!!


--------------------------------------------------------------------------------------------------------------------------
This is my easy-cheesy tutorial. I'll be back tomorrow to share a slightly different tutorial with a few more steps, but it would give you the option of using 3 different fabrics or using more scraps (if you don't have a large scrap piece like the one needed for this tutorial).
See you tomorrow!
Andrea
No comments:
Post a Comment